I decided to use Hexo for building my building and writing my Blog after a hint of a good friend, because of two reasons:
- I wanted to get more in touch with Markdown
- I like the fact, that it is completely build with Markdown and because of this, it is “Platform-Independent”, what means, that I am always able to move all my content to another solution if I like someday :-)
GitHub-Pages
The next to think about, is where to host the blog? GitHub is at the moment the cool shit, so let’s use GitHub with GitHub Pages. The idea behind Pages is to publish nice looking content to your project and repositories, that is better styled then a typical README.md
Kind of Pages
GitHub provides different types of Pages that can be typically divided into User or organization or Project sites.
So for me, it’s a user-site what is easy to establish and all well documented in the official documentation. But the next question for me was: How to bring GitHub and Hexo together?
Deploy Hexo to GitHub Pages
Idea behind
Hexo creates a kind of “compiled” HTML-Content, and this is what I want to show the visitors of this page. But I also want to store and version my sources on GitHub, and storing both in a repository is “not so easy” (at least, if you’re a complete nooby like me :-P).
Looking at the official way
In the official documentation of Hexo, there is a section on how to bring Hexo and GitHub Pages together, but the described way - at least for my scenario - is a little bit over engineered (using travis) and simply not working, as you can read in comment section below the article. The cooler way: Use Hexo-Deployer, as described on the for private repositories, but tweak it a little bit to achieve your ideal setup.
Let’s start
Setting up Hexo
Start with installing hexo via terminal like in the official documentation described
1 | npm install hexo-cli -g |
Next init your project
1 | hexo init <folder> |
Waiting some short moments a you are ready to run :-)
I recommend you to use with some of the cool Plugins for editing your articles (perhaps I’ll write a separate post about some time).
Connecting to GitHub
Next step is to bring our content to GitHub - but not the typical Master-Branch, because we’ll need them later for our page itself.
Create Repository
First step is to create your repository on GitHub if not already existing. If you want it to be reachable via https://YOUR_USERNAME.github.io, then you have to create a repository called YOUR_USERNAME.github.io.
Push to Git
We have to switch to the folder of our blog and then execute some commands:
1 | git init |
Here we stop with the default documentation and create first a new branch, for our hexo sources:
1 | git checkout -b hexo_sources |
Now are our sources connected to the new branch and we can use the master-branch for the public content.
Deploy your page
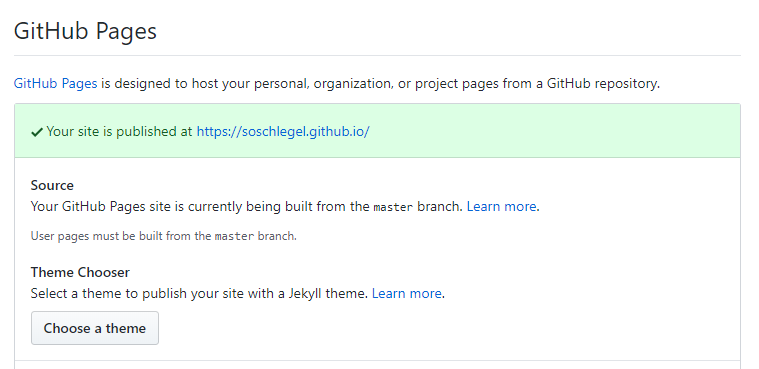
The problem with your “User-GitHub-Page” is, that you can only publish the master-branch (using other repositories, you are able to change the branch to be published).

But this is already prepared by us - next step: Use Hexo-Deployer, what was already announced in the beginning.
Installation is again really easy:
1 | npm install hexo-deployer-git --save |
…and all the possible configuration is described in the documentation, so in our case it should look like
1 | # Deployment |
After this, you just need to run hexo deploy (ok - sometimes also hexo clean) via command line to see this nice text after some magic happened:
1 | warning: LF will be replaced by CRLF in index.html. |
That’s all you have to do. I don’t know what I missed, but for me it takes up to 10 minutes till I see my changes on my GitHub-Page. So enough time for you to grab a coffee or a beer :-)